Application Data Import
Use the Application Data Import process to import ISIRs and Error Response Files. The Application Data Import process automatically matches records in the import files to records in the database.
ISIR matching uses the following criteria:
-
The school code must be listed on the student's FAFSA/ISIR.
-
The ISIR is matched based on the student's SSN and Name.
After ISIRs have been imported into the system, the ISIR Matching process is available to manually change any automatically matched ISIR records after the Application Data Import process.
Anthology Student also supports the automated import of ISIRs and Error Report files. Based on schedules defined by users, the import service finds available import files in the EDE path and passes them to the Application Data Import process.
-
On the Process tab, specify the data selection criteria and manually queue an import job. The queued job will run in the background.
The Process tab is not used when the import process is automated via schedules.
-
On the History tab, review the results of manually queued jobs and scheduled jobs. You can also view details about the records within the batch and access the student profiles.
-
On the Schedule tab, create, edit, activate, deactivate, delete schedules, and specify import options (selection criteria). You can also view detailed information on the last 5 runs of a scheduled import process and manually trigger an import process.
To view the process report, go to Regulatory Process Results. Find the batch and inspect the records included in the batch.
 Note about 2026-2027 Changes in FAFSA Specifications
Effective April 26, 2026, Regulatory US provides award year (AY) 2026-27 ISIR and FAFSA support to align with the U.S. Department of Education's required mid-year layout changes. This update helps ensure that 2026-27 processing and reporting continue to work as federal files transition to the new format.
What's included:
-
New import validation for AY 2026-27 to ensure only the updated ISIR format is accepted after the effective date.
-
A one-time re-import allowance for AY 2026-27 only: if you imported an earlier (pre-update) ISIR before this release, you can re-import the same transaction in the updated format so your record reflects the latest layout.
-
Updated ISIR Print report layout for AY 2026-27: ISIRs imported before the update will still print using the new layout (any new fields will appear blank).
-
No change for other award years: AY 2025-26 and earlier behavior remains unchanged.
Customer impact and required actions:
In Anthology Student, the ISIR Import process uses the statuses Succeeded and Completed on the History tab to represent different stages within the same process. While both statuses confirm that the job ran, they have distinct operational meanings. For 2026-27 ISIR imports, the statuses are specified below.
ISIR Import Status = Completed (With Results Details)
The Completed status appears when the import finishes, but results in system messages or conditional outcomes, including:
-
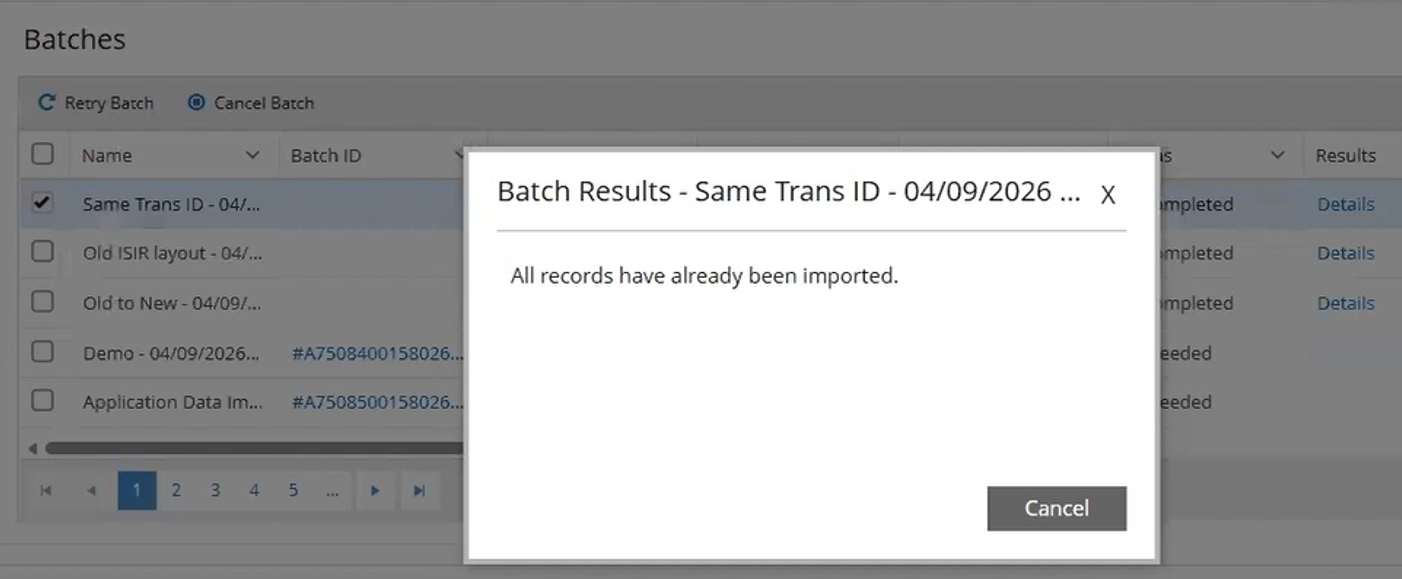
Duplicate updated-format imports (AY 2026–27): If you attempt to import an updated-format ISIR that already exists, the system displays:
-
“All records have already been imported.”
-
-
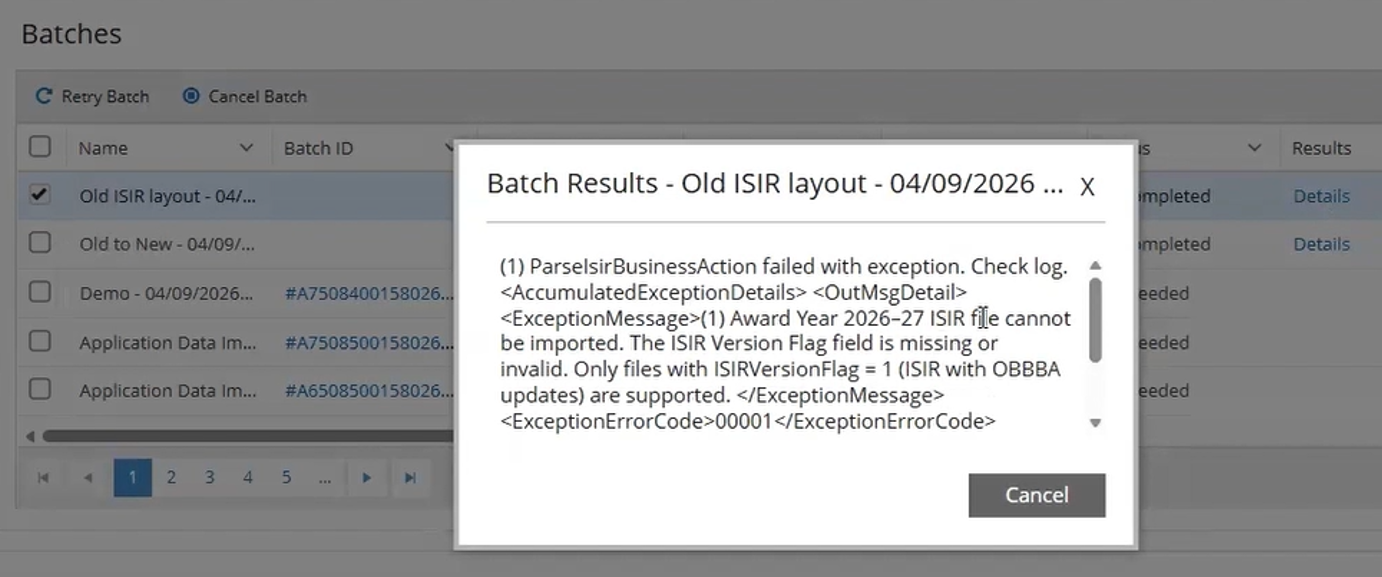
Blocked imports: If the file cannot be imported, the system displays:
-
“Award Year 2026–27 ISIR file cannot be imported. The ISIR Version Flag field is missing or invalid. Only files with ISIRVersionFlag = 1 (ISIR with OBBBA updates) are supported.”
-
-
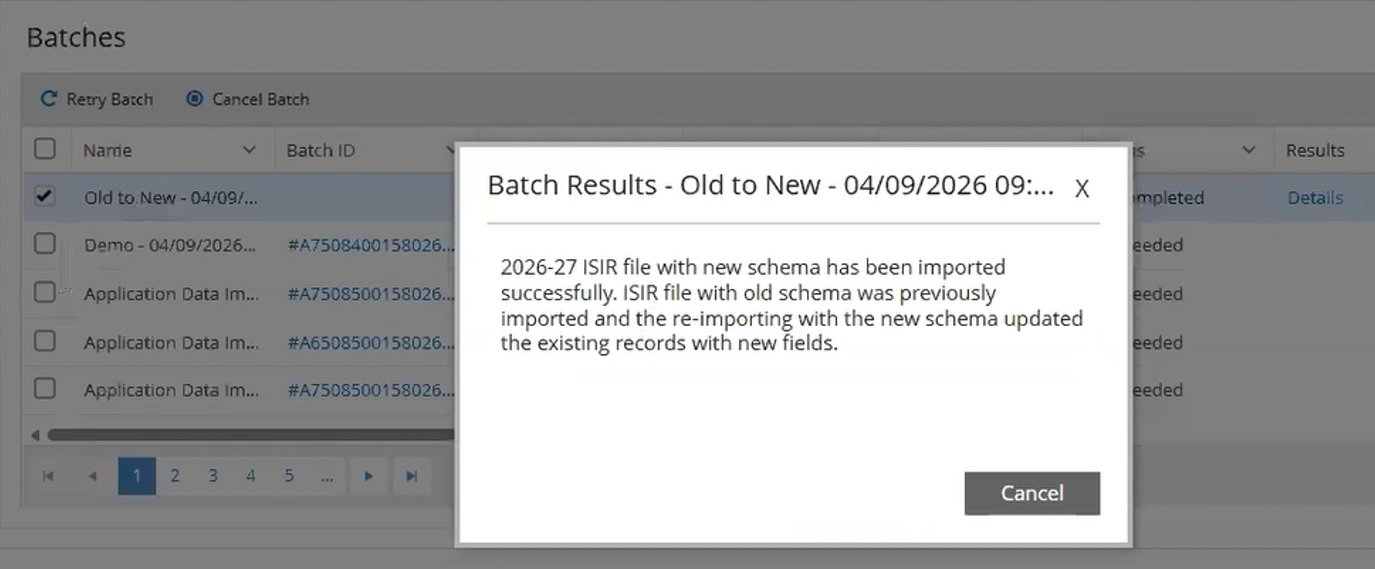
Re-importing existing 2026–27 transactions: If an ISIR was originally imported before this release (older format), re-importing the same Transaction ID using the updated format will update the existing record. The system displays:
-
“2026–27 ISIR file with new schema has been imported successfully. ISIR file with old schema was previously imported and the re-importing with the new schema updated the existing records with new fields.”
-
ISIR Import Status = Succeeded (No Results Details)
The Succeeded status indicates a clean import with no additional messages.
-
Importing an ISIR for the first time using ISIR Version Flag = 1.
If you're unsure whether a file is in the updated format, request a refreshed AY 2026-27 ISIR file from the Department of Education and re-import.
Financial Aid Processes File Management
Use Processes > System Administration > Financial Aid Processes File Management to upload and download files in Azure File Storage. This functionality allows you to place files where financial aid processes, such as Application Data Import/Export, Clearinghouse, and NSLDS Reports, expect them. Refer to Financial Aid Processes File Management.
Prerequisites
Authorizations:
-
Common - Processes - View
-
Financial Aid - Processes - Application Data Import - Import Student ISIRs
You should also be familiar with Background for Application Data Import.
Configure campus-level security for Application Data Import so users see only records for their assigned campus on the History tab:
-
In Settings > System > Campuses > Campus Groups, create or select a Campus Group containing only the campus that the user can access.
-
In Settings > System > Staff, select the staff member and assign that Campus Group on the General tile.
Access
Processes > Financial Aid > Application Data Import
Import Application Data
Process Tab
Use the Process tab to specify the selection criteria for manually queued import jobs. For automated imports, use the Schedule tab to specify the import options.
-
Select an Award Year or accept the session default.
-
Select a File Type.
-
Select ISIRs (default) to import any ISIR file type (e.g., IDAPxxOP, IDNRxxOP, IDRExxOP, IDSAxxOP, IGCOxxOP, IGNRxxOP, IGRExxOP, IGSAxxOP, IGSGxxOP, and ISRFxxOP; where xx represents the award year)
-
Select Error Report File to import files sent from the FPS to inform the institution that ISIR corrections submitted by the institution are not accepted. An error report file may indicate that an entire batch was rejected or any detail records were rejected.
Refer to Export and Import File Types.
-
-
When importing ISIR files, select Yes (default) or No in the Update Now drop-down list.
Importing ISIRs involves two phases. In the first phase, the ISIR records are inserted into the Anthology Student database. In the second phase, the ISIR data is matched and student records are updated.
-
Select Yes if you want both phases of the ISIR import to be executed immediately.
-
Select No if you want the second phase to run as a background process using a Windows service that runs during school-defined off-hours, typically at night.
-
-
For award years 2023-24 and earlier, the EDE path for the user's default campus is displayed in the Campus EDE Path (TG)
For award years 2024-25 and later, the EDE path for the user's default campus is displayed in the Application Data EDE Path (FT)
-
Select the search icon (
 ) in the Selected File field and select the files you want to import.
The available files list shows only ISIR files even though the EDE path may contain other files. When multiple ISIR files are available, you can select and process multiple files.
Do not alter the file names of the ISIR files to be imported; otherwise Anthology Student may not recognize the files as ISIRs.
-
Select Queue Import.
The Submit Batch window displays the default Batch Name. You can edit the Batch Name.
-
Select Submit in the Submit Batch window.
This starts the background job to process the data and create batches from the selection criteria. For each file to import, one job is created.
The selected file is read from the local Campus EDE path and copied to the System EDE Path.
-
When the job is submitted successfully, the following message is displayed: “The Application Data Import records were successfully queued.”
The processed import files are renamed to BK.
Example: IDAP18OP.001 will be renamed to IDAP18BK.001.
The extension of the import file (e.g., 001) indicates the transaction sequence number.
Tip: Use Notepad++ to view the raw text files.
-
When the job is completed, a notification appears in the command bar. The number of failed jobs will be indicated in red (
 ).
).
History Tab
The History tab displays the results of manually queued jobs and scheduled jobs.
When Enable Campus Level Security On Batches is turned on in Settings > System > General, the records on the History tab will be filtered based on the logged-in user and the campus groups associated with the user. Record filtering is based on the SyCampusId. Records with a NULL value in the CampusID field will be visible to all users. CampusID = NULL is assigned to records that are not in Succeeded status (e.g., Completed, Enqueued).
A clean-up script ensures that batches are also filtered if they were created before the implementation of the campus-level security feature. The script runs at the batch level per process and assigns SyCampusId values to the records in the batch.
A clean-up script ensures that batches on the History tab that were created before the implementation of the campus-level security feature are also filtered based on the new campus-level security. The script runs at the batch level per process and assigns SyCampusId values to the records in the batch.
For the Application Data Import process, the clean-up script updates student records with a valid ISIR based on the student’s latest active enrollment campus. When a student has multiple enrollments, the script updates the CampusID to the latest enrollment campus even if the student record was originally imported for a different campus.
For Application Data Exports, the clean-up script retains the Campus Name of the original record.
Unmatched student records, failed batches, and error reports for ISIR imports are visible to all users, including users with limited campus access. For users with limited access, the record numbers in the batches grid (top) and details grid (bottom) may not always match.
If the feature is turned off, the History tab will load the records based on the default campus setting (Session Defaults).
Batches
-
Review the grid listing the final batches for the Application Data import.
Status
Read Note about 2026-2027 Changes in FAFSA Specifications.To view the process report, go to Regulatory Process Results. Find the batch and inspect the records included in the batch.
-
Select the refresh icon (
 ) in the footer of the grid to retrieve the current status of the background jobs.
 -
If the job status is "Completed" and there is a "Details" link in the Results column indicating that the job did not succeed, you can select Retry Batch in the grid toolbar to resubmit the job.
This option can be useful if an error occurred after the job was submitted (for example, network issues or SQL database cannot be reached).
-
To remove a failed batch, select Cancel Batch in the grid toolbar.
-
For a job with a status of Succeeded, select the link in the Batch ID column to review the records contained in the batch.
The ISIR Import Report section is displayed.
ISIR Import Report
-
The fields above the ISIR Import Report grid display the following information about the batch:
-
The ISIR Import Review grid has the following fields:
When a C-Code has already been resolved (that is, the student was removed from the C-Code Hold Group), Anthology Student recognizes that the new ISIR contains an already resolved C-Code and will not add the student to the C-Code Hold Group again. You can configure this option under Settings > System > General > No SAR C-Codes reapplied to Hold. The default for this setting is No/False.
When the "Enable Campus Level Security on Batches" feature is enabled, the grid will display only records for students with the latest active enrollments at the campuses associated with the logged-in user.
For example, a batch may contain records for 10 students enrolled at different campuses. The Batches grid (at the top of the page) will indicate 10 records in the batch. For a user with limited campus access, the details grid (at the bottom of the page) will list only the records for students with an active enrollment at the logged-in user's campus. Therefore, the number of records in the details grid may not match the number of records in the batches grid.
Student records with unmatched ISIRs will be displayed to all users regardless of the user's campus permissions.
-
To view the Student Profile for a record, select the link on the student's name. The Student Profile page for the selected record is displayed in a new browser tab if you have permission to view student data.
You can also view the ISIR Import Report in the Regulatory Process Results.
Schedule Tab
Use this tab to create, edit, activate, deactivate, delete schedules, and specify import options (i.e., selection criteria). You can also view detailed information on the last 5 runs of a scheduled import process and manually trigger the execution of an import process.
-
Review the grid listing the previously created schedules for the Application Data import.
-
To remove a schedule, select the schedule and select Delete.
-
To activate an inactive schedule, select the schedule and select Activate.
-
To prevent an active schedule from running, select the schedule and select Deactivate.
-
To trigger a scheduled import process to run immediately, select an active schedule and select Run Now.
-
To view details of a previously scheduled job, select the expand icon (
 ) in the left column. The following details are displayed:
 -
To edit a schedule, select the link in the Name column. The Edit Schedule - <Name> form is displayed below the grid.
-
To create a schedule, select New in the grid toolbar. The New Schedule form is displayed below the grid.
-
Specify or edit the following Schedule properties:
Application Data Import Options
The introduction of the FTI-SAIG Mailbox and FT Numbers for 2024-25 and later required a new Campus EDE path in Anthology Student to import ISIR files. The system now provides separate directory paths.
-
Import/Export of COD files, export of correction files, etc., for all award years will continue to use the Campus EDE (TG folder)
-
Import of ISIR Files for award years 2024-25 and later will use the Application Data EDE Path (FT folder)
-
-
Save your changes.
-
To close the New Schedule or Edit Schedule form, select Cancel.
| This feature applies to U.S. compliance only. |
